Animals
Let the wheel of fortune choose any animalAdd items to the wheel
Add custom items to the wheel
Current items in the wheel
⚙ Other settings - click to open
Premade palettes
Here you can find all the premade color palettes. Just click on any of the palettes, and the colors will immediately change on the wheel.
You will find the original color settings when the page loads in the Basic Colors palette.
Below each palette, you will also find a button to transfer the colors of that palette to a custom palette. You can also find the custom colors of the wheel in the menu of this setting. You can edit, add, or remove colors as you like.
Custom wheel color settings
Custom wheel speed setting
Wheel spin time (in seconds)
Here you control how long the wheel will spin after you spin it. You can also enter a decimal point to refine the speed.
0 means immediate display of the result without any animation.
Idle spin speed
Here you can adjust the speed of the slow idle spinning of the wheel. Slide the slider all the way to the left for a complete stop.
Custom font size settings in the wheel
Here you can set your own font size and color in the wheel. This can come in handy for some palettes where the default "white" is not quite appropriate. For more or fewer items in a wheel, it may then be useful to increase or decrease the font size
Usually when the page loads, the font size is set to 16 and the color is white, but different wheels may have different initial settings. (So typically you can set "white" as the color without the quotes, or clear the color field).
The font size is calculated automatically when any other change is made to the wheel, so typically adding/removing items, changing colors, etc... Here you can set the font size to stop being calculated automatically, but you can set it yourself.
Font size in px
Custom font color settings in the wheel
CSS color format
or you can choose from the palette:
Custom wheel centre size adjustment
Here you can adjust the size of the wheel center, both the size and color of the wheel, as well as the outline. By default, the size is set to 30 and the color is "white", for the outline it is set to "black" and 1
Centre wheel size
CSS color format
or you can choose from the palette:
Centre wheel contour width
CSS color format
Save settings or import/export from file
Clicking the button will save the current settings to your browser. Even after refreshing the page, you should still see any items, colors, or anything else you have set. Note that this setting applies to this wheel and this wheel only. If you go to another page with another wheel, this setting will not carry over.
This button will clear the browser settings for the wheel on this page. After deleting the settings, refresh this page in the browser and the wheel will load with the basic settings, i.e. without any modifications. Deleting the settings only applies to this wheel. Deleting settings from this wheel will not delete settings from any other pages or wheels.
Here you can save your current wheel settings to a file. This is useful for transferring to another device or purely as a backup.
Here you can upload the settings using the file you created above:
📝Table of contents
Create a wheel of all animals and let chance decide
On this page, you will find a pre-prepared wheel of fortune with all animals, or you can of course add any yourself. You can easily customize the wheel to your liking and simply add or remove animals in bulk or individually.
This way, you can create a wheel purely according to your preferences much more easily without having to manually insert everything into a general wheel.
How to use ChoosyWheel
Everything is really very simple. First, add the items to the wheel from which to choose. Spin by clicking the button on the wheel (or use the shortcut Ctrl + Enter, or ⌘ + Enter), and wait for the spin result. You can also stop the wheel immediately with the shortcut Ctrl + Enter or ⌘ + Enter, and you will instantly see the result.
The wheel spins completely randomly, and its use is really very easy.
First, let’s look at the basic settings necessary for using the wheel. Then we will discuss other settings that mainly adjust the appearance or other properties of the wheel, such as font size, colors, spinning speed, and also how to save the settings so you always have them at hand.
Basic settings for regular use
How to add items to the wheel and spin for a random result
This pre-prepared wheel requires just a click on the button to spin the wheel when the page loads. However, since only mammals are added, you might want to customize the wheel to your liking.
If you want to edit the animals and perhaps remove some, you can use the tabs, which you will find to the right of the wheel or below it, depending on the size of your screen:
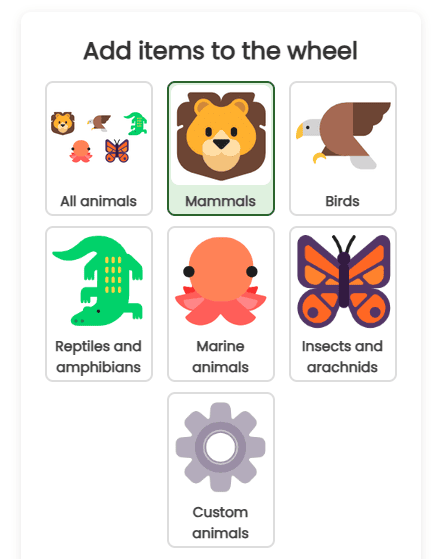
At the top, you will find buttons to add/remove all animals or individual species.
Clicking the “All animals” button adds or removes all countries. First, all countries are added if some are missing. If all are added, clicking again removes them all. Therefore, sometimes you need to click the button twice to remove them.
Next, you will find buttons for individual species. Clicking the button adds all animals of that species to the wheel, and the button will be colored. Clicking again removes all animals of that species from the wheel.
Selection of individual animals
Further down, you will find tabs with continents. Clicking on a tab opens the option to add/remove individual animals. At the top of each tab, you can filter by animal names. You don’t need to worry about uppercase and lowercase letters, but you must use diacritics, such as accents. Just type something, and only animals matching your search will remain in the field below.
To remove an animal from the selection and the wheel, just uncheck the button to the left of the animal. To add it again, check it:
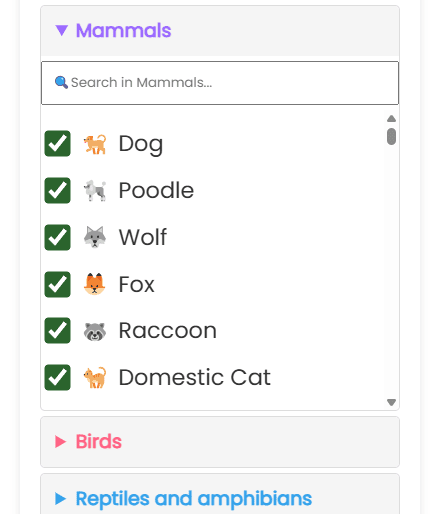
If you want to remove some specific ones, it’s best to add all with the large button and then remove those you don’t want.
Conversely, if you want only a few specific ones in the wheel, use the large button to remove all, and then individually check those you want in the wheel.
Deleting or moving items in the wheel
Further down, you will find the currently added animals in the wheel of fortune:
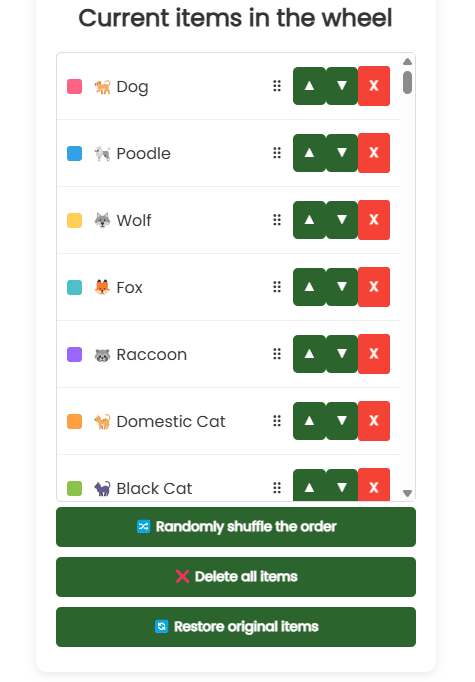
On the right, you will find control buttons. The red X deletes the item, which is also reflected by unchecking the animal in the fields above. To add it back, you need to check this animal again.
The up and down arrows swap it with items above/below.
You can also change the order using the drag and drop function. Grab an item with the left mouse button and move it anywhere in the item field. It works the same way on touch screens, where you first hold your finger on the item and then drag it with your finger.
This can be useful if you want to change the order or perhaps the colors.
Below the field, you will find buttons for randomly shuffling the order, deleting everything, or restoring the original data in the wheel, thus returning the wheel to its original state as when the page was first loaded.
Other Settings for Changing Colors and Other Wheel Properties
These settings are not that important, but you can easily customize the wheel according to your preferences. This includes font size, color palette, spinning time, and other small details.
You will find the settings below the wheel, or on smaller screens, below the item field.

Open the settings by clicking.
Depending on the screen size, you will find the main settings sections on the left or at the top.
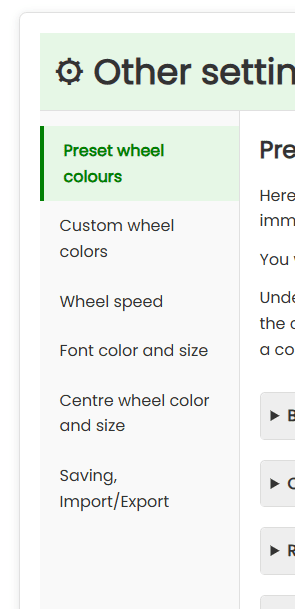
Clicking a section opens it, and you can adjust everything in real-time directly on the wheel.
Changing the Wheel’s Color – Pre-set and Custom Palettes
In the section with pre-set wheels, you can choose different palettes according to the theme. If you would like to add a pre-set, feel free to contact us, and we will add the palette without any problem ?
If you want to choose a palette directly for the wheel, just click on it, and the colors on the wheel will update immediately.
In the second section, you have the option to create your own color palettes. You can either create your own palette from scratch or modify a pre-prepared one.
You can insert a pre-prepared palette into your custom palettes with the button below the palette:
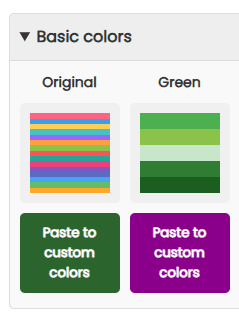
The button with the last inserted palette will remain purple so you can keep track.
Then go to the Custom Wheel Colors section, which will also be marked with a red dot so you know to look here. The selected palette will be copied here, where you can modify it according to your preferences.
To select your own palette and apply the colors to the wheel, just click on the palette. Depending on the screen size, you will find it attached on the left or below in the custom palette section.
In this section, you need to enter colors in a format that the browser will understand, i.e., a color you would enter as CSS. Don’t worry, it’s nothing terrible.
Basically, you have the option to enter pre-prepared color names (you can find them at the link above), a hex code, or RGB.
You can also easily select a color from the picker below the field:

Just click on the picker and choose a color. It is a built-in function of your browser, so it may look slightly different depending on your device.
Similar to inserting items into the wheel, you can also insert colors in bulk, i.e., one color per line.
Further down, you will find all the inserted colors, which you can adjust just like the item field, i.e., delete colors or change their order using buttons or by dragging with the mouse.
Wheel Spinning Time and Slow Spin Speed
In the next menu section, you can set how long the wheel will spin after you spin it. If you set it to 0, the wheel won’t spin at all and will simply show a random result.
Just enter the number of seconds in the field, which will correspond to the time from pressing the button to spin the wheel to displaying the result. You can also add a decimal point.
If you want to change the wheel’s function a bit and select results yourself, you can set it to 300 seconds and then stop the wheel with the stop button, which will also immediately evaluate the result.
Further down, you will find a slider for the slow spinning of the wheel, which starts when making adjustments to the wheel or even when the page loads. This is just a minor feature that doesn’t really change the functionality at all, but just so the wheel doesn’t stand still ?
If you want to stop the slow spinning, just move the slider all the way to the left. You can speed it up by moving it to the right.
Font Color and Size in the Wheel
The font size in the wheel is calculated automatically based on the number of inserted items. Theoretically, you don’t have to do anything, and the font size should match (the font has a fixed minimum, so if you insert a thousand items, the font might not be ideal, but for most uses, the automatic calculation is sufficient).
Changing Font Size
If you want to change the font size to your own, you can do so in this section:
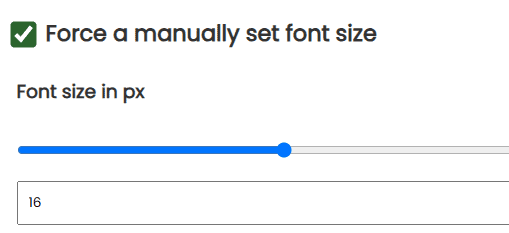
First, you need to check the button to force the font size. If you check it, the size will automatically change in real-time according to your settings. You will find this a little further down, where you can move the slider or set the size in pixels.
If you want to restart the automatic calculation, just uncheck the button, and the font size on the wheel will be as before.
Changing Font Color
In the section, you will also find the option to change the font color. The font color also changes automatically to black or white based on the background contrast, which is well visible in the image with a wide range of colors on the wheel:
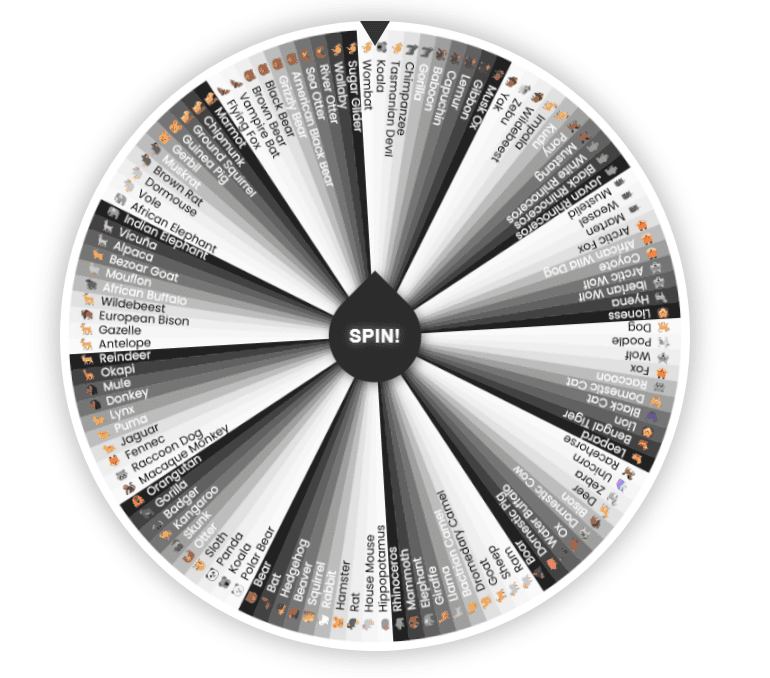
Without this feature, the different palettes would look rather ugly, and some fonts would simply be unreadable.
However, you can also change the font color yourself if it doesn’t suit you, to any color you like.
First, you need to click the button to force your own font color:
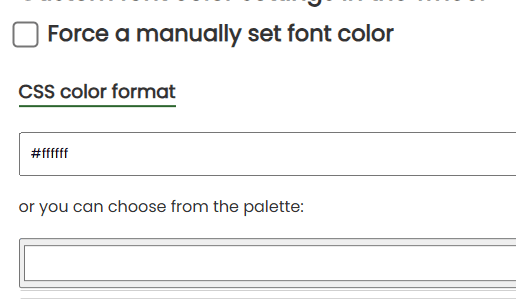
Just below, set the font color again via CSS color format or from the picker. The font color is instantly adjusted directly on the wheel.
Adjusting the color and size of the center wheel
The center wheel is essentially a pure design element and has no effect on the function of the wheel. However, you still have the option of adjusting its color, size or width, and the color of its outline to really make the wheel your own.
In the settings, just move the sliders to make the wheel and outline bigger/smaller, and as in the other settings, select the color.
Save to browser and import/export
In the settings, you will also find the option to save the current settings and items in the wheel, which will then be loaded when the page is reloaded.
How to save wheel settings to your browser
Click the save button and the settings are saved directly to your browser, so you don’t upload them anywhere and we don’t have access to them.
When you reload the page, the settings will remain and you can continue. This is handy when you customize the wheel and the items in it directly to your liking and don’t want to set it up again.
Note that the settings are only saved for the wheel on the page you are on. Because there are different settings for different types of wheels and different ways of adding items, you cannot transfer these settings to another wheel.
How to delete wheel settings
The next button, on the other hand, deletes the save from your browser. To return the wheel to its original state, just reload the page.
Deleting the settings only applies to that wheel. Deleting the settings of a given wheel will not delete any other settings from other wheels.
Importing and exporting settings
If you want to transfer items and wheel settings to another device or browser, or if you want to have several different presets without having to set and copy everything all the time, you can use the import and export function.
First, export the settings, which will be downloaded to a file. Save this file somewhere.
To import/transfer to another device/browser, then select this file a bit further down by clicking the button and import the settings.
Note that this import will only rebuild the wheel according to the settings in the file, but will not save it in any other way. If you wish to save these settings to the browser, you still need to save everything with the save to browser button.
